To rotate an object using the Rotate Selection tool
-
In the Enfocus Inspector dialog, click the
Select Objects
tool
 .
.
-
Click the Rotate Selection
tool
 .
.
The Enfocus Inspector changes accordingly.
-
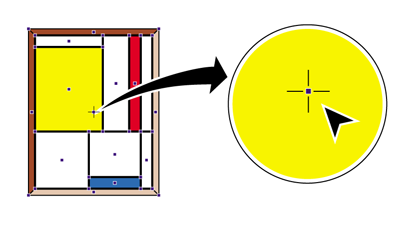
Click the selected object.
The object’s point of origin around which it will be rotated is indicated.
The point of origin is in the center of the selected object.
-
Do one of the following:
- To rotate the object around its center point, drag the selected object in a circular motion.
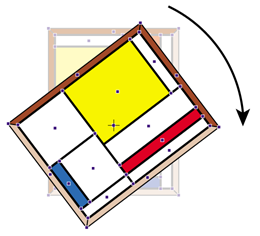
- Double-click on another position to move the point of origin. Move the pointer away from the center point and drag in a circular motion to rotate the object around its new point of origin. The image below shows how an object can rotate around its point of origin placed outside the object.

- Hold down the SHIFT key while dragging to rotate the object in fixed angles. You can set this angle in the Numeric Feedback category of the Enfocus Inspector dialog box.
- Hold down the ALT key (Windows) or Option key (Macintosh) while dragging to create a rotated copy of the selected object.