SwitchClient interacts with certain elements of one or more flows that have been designed with Switch. To design a flow, the Switch user drags flow elements (such as Submit points, processors and folders) on the canvas and connects them according to the desired job flow. After configuring appropriate property values for each flow element (and in some cases, the connections), the Switch user can activate the flow for execution. From then on, Switch automatically moves and processes jobs along the flow.
For more information, see Workspace overview, Canvas and Switch Quick Start guide.
Example flow
Here's a simple flow example as it is shown in the Switch canvas:

Since this example focuses on SwitchClient features, there is a lot of interaction with human operators and little automated processing (other than moving jobs around). Real-life flows would probably include processing steps such as preflight or color conversion.
The Submit point to the left (Creatives) allows submitting jobs to the flow in a controlled fashion using SwitchClient. The user's name is automatically remembered; multiple users can use the same Submit point since each user is identified to Switch through his/her user name and password. The "Set User Name" script serves to add a user name for jobs submitted through a regular hot folder (Henry).
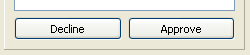
The first Checkpoint (Visual Proof) holds the incoming jobs for inspection by a SwitchClient user. The names of the output connections (Approve and Decline) are displayed in SwitchClient as buttons. Pressing one of these buttons moves a job along the corresponding connection.
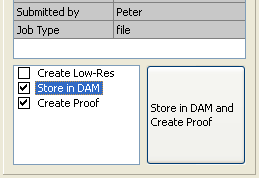
The second Checkpoint (Output Jobs) allows a SwitchClient user to decide how the jobs will be stored or processed. This Checkpoint is configured to allow multiple outputs at the same time; for example both "Store in DAM" and "Create Proof".
Setting up a Submit point
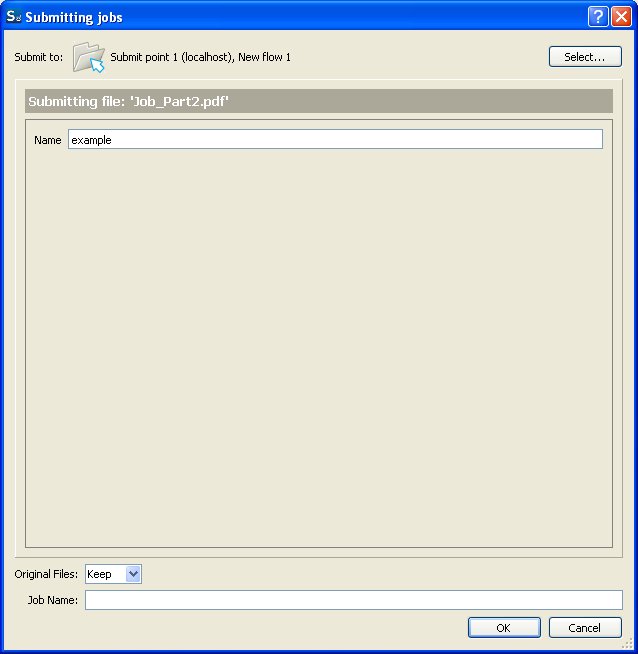
A Submit point (Creatives in the example flow) offers properties to configure its behavior. For example, a Submit point may require that the SwitchClient user enters one or more data fields before submitting a job. This screen grab shows how the SwitchClient user must enter a valid Job ID:
Setting up a Checkpoint
Similarly, a Checkpoint (Visual Proof and Output Jobs in the example flow) offers properties to configure its behavior. It can cause SwitchClient to display additional information about the job, and it may require that the SwitchClient user enters additional data fields before acknowledging a job.
Furthermore, the output connections of the Checkpoint determine the look of the buttons shown to the SwitchClient user for acknowledging a job.
For example, the Visual Proof Checkpoint in the example flow is configured so that SwitchClient shows two buttons; pressing one of the buttons causes the job to move along the corresponding connection:
On the other hand, the Output Jobs Checkpoint in the example flow is configured so that SwitchClient shows a list of options; the user can select more than one option, causing a duplicate of the job to be sent out over each of those connections:
Setting up access rights
To enable Submit points and Checkpoints for a particular user, the Switch user must also configure the appropriate access rights. Refer to Assigning access rights.