The Enfocus PitStop Pro panels are not shown by default. You have to add them manually to the Tools pane, in order to be able to use the PitStop Pro tools.
To add the PitStop Pro panels
-
In the search field below, type PitStop and click the
search icon
 .
The PitStop Pro panels are listed.
.
The PitStop Pro panels are listed. -
To access the tools included in the PitStop Pro panels, do one of the
following:
- Click the name of the PitStop Pro panel concerned.
- Right-click the name of the PitStop Pro panel concerned and click Open.
- In the Acrobat menu bar, click .
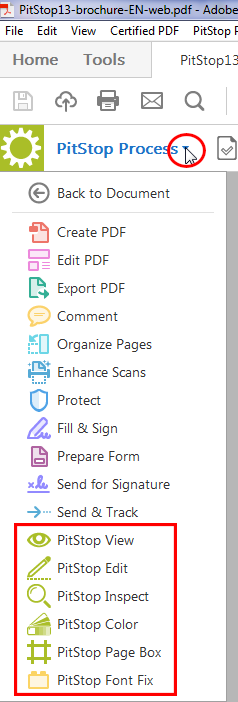
- If another panel has been opened already, click the small arrow below
the name of the panel and select the PitStop Pro panel you want to
open (see screenshot below).
The tools are shown at the top of the document or on the right side (PitStop Edit panel).Note: If there is not enough room to display all tools, you will see the following icon: ;
simply click this icon to see the missing tools.
;
simply click this icon to see the missing tools.